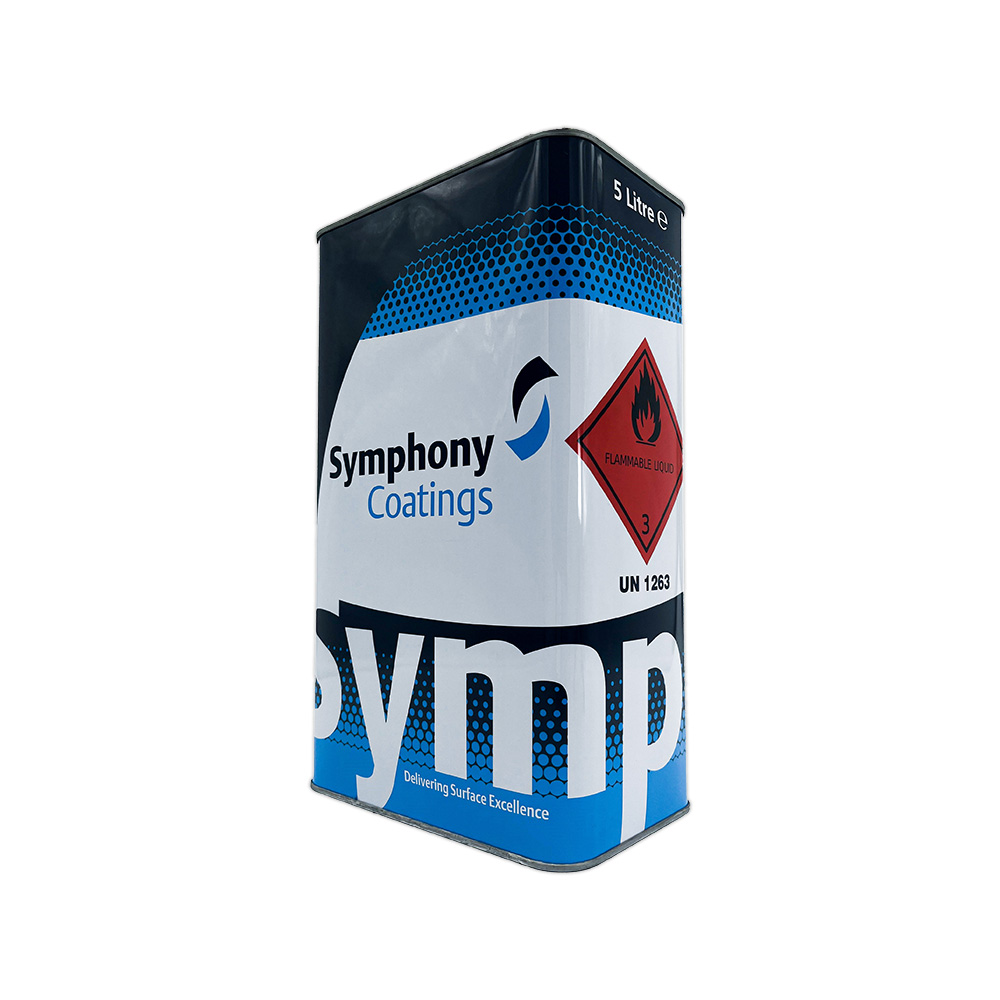
Symphony Extra Slow Thinner is used in narrowboat painting and serves as a paint thinner, ensuring smooth application, during warm and humid environmental conditions.
Areas of Use:
Using a slow thinner in painting a narrowboat can offer several advantages, depending on the specific requirements of the paint job and the environmental conditions. Here are some reasons why you might choose a slow thinner:
Improved Flow and Levelling: Slow thinners allow the paint to flow more smoothly and level out evenly on the surface. This can result in a smoother and more professional finish, especially on large, flat surfaces like those found on a narrowboat.
Reduced Overspray and Dry Spray: Slow thinners can help reduce issues like overspray and dry spray, where the paint particles dry before reaching the surface. This is particularly beneficial in preventing a textured or uneven appearance.
Enhanced Blending and Feathering: When working on intricate or detailed areas, a slow thinner gives you more time to blend and feather the paint, ensuring seamless transitions between colours or layers.
Hot Weather Conditions: In hot weather, where paint can dry quickly, a slow thinner extends the drying time, providing the painter with more control over the application process and reducing the risk of paint drying before it has a chance to level properly.
Minimised Orange Peel Effect: The orange peel effect, characterized by a textured surface resembling the skin of an orange, can be reduced with the use of slow thinners. Slower drying allows the paint to settle more evenly, reducing the likelihood of this texture.
Preventing Flashing or Banding: Slow thinners can help prevent flashing or banding issues, where the paint appears uneven due to differences in drying times. This is particularly important when applying multiple coats.
It's important to note that the choice of thinner depends on the specific type of paint being used, the application method, and the environmental conditions. Always follow the paint manufacturer's recommendations and guidelines for thinning ratios and use the appropriate thinner for the type of paint you are working with.
Technical Info
Brand: Symphony
VOC: This product contains a maximum VOC content of 895 g/l
Ingredients: Xylene mix
Application:
Ensure Safety: Before starting, wear appropriate protective gear, including gloves and eye protection. Work in a well-ventilated area or use respiratory protection if needed.
Clean the Surface: Remove any loose dirt, dust, or debris from the bare steel surface using a clean cloth or rag. This initial cleaning helps prevent contaminants from being spread during the panel wipe application.
Shake the Panel Wipe Container: If the panel wipe is in a liquid form, shake the container well to ensure that the product is thoroughly mixed.
Apply Panel Wipe: Pour a small amount of panel wipe onto a clean, lint-free cloth or rag. Apply the panel wipe to the bare steel surface in a consistent and even manner. Work in manageable sections to ensure thorough coverage.
Wipe the Surface: Use the cloth or rag to wipe the panel wipe across the bare steel surface. Apply moderate pressure to remove any contaminants, such as grease, oil, or residue from previous treatments.
Inspect for Residues: Inspect the surface for any residues or contaminants. If necessary, repeat the application and wiping process until the surface is clean and free of contaminants.
Allow Evaporation: Allow the panel wipe to evaporate from the surface. This ensures that the bare steel is completely clean and ready for the next steps in the painting process.
Verify Cleanliness: Verify the cleanliness of the bare steel surface by visually inspecting and, if necessary, running a clean cloth over the surface to check for any remaining contaminants.
Proceed with Painting: Once the bare steel surface is thoroughly cleaned and free of contaminants, proceed with the priming or painting process according to the paint recommendations.
Drying Times
The drying time of slow thinner in painting a narrowboat can vary depending on several factors, including the specific formulation of the slow thinner, environmental conditions, and the thickness of the applied paint layer. Slow thinners are designed to extend the drying time of paint, providing more time for the paint to level out and resulting in a smoother finish.
In general, slow thinners slow down the evaporation rate of the solvent in the paint, allowing for a more gradual drying process. The exact drying time can range from a few hours to overnight, depending on the conditions mentioned above.
It's crucial to follow the manufacturer's recommendations for the specific slow thinner and paint you are using. The product label or technical data sheet provided by the manufacturer will often include information on drying times, application guidelines, and any other relevant instructions.
Additionally, factors such as temperature, humidity, and ventilation in the painting environment can influence the drying time. Warmer temperatures and adequate ventilation tend to expedite the drying process, while cooler temperatures and limited ventilation may prolong it.
Always allow sufficient drying time before applying additional coats or taking further steps in the painting process to ensure a successful and durable paint job on your narrowboat.
Usage
Preparation:
When using Panel Wipe in the narrowboat painting process, the preparation involves steps to ensure a clean, well-prepared surface and safe application:
Surface Cleaning: Clean the narrowboat surface thoroughly to remove any dirt, dust, or debris. This step is crucial for the proper adhesion of the paint.
Surface Sanding: Sand the surface to create a smooth and even texture. Sanding helps the paint adhere better and ensures a more professional finish.
Masking and Taping: Mask off areas that you don't want to expose to Panel Wipe, such as windows, handles, or other hardware. Use painter's tape to achieve clean and defined edges.
Ventilation: Ensure good ventilation in the painting area, especially when using Panel Wipe. Work in a well-ventilated space or use proper ventilation equipment to minimize exposure to fumes.
Protective Gear: Wear appropriate protective gear, including gloves and, if necessary, a respirator, to safeguard against skin contact and inhalation of fumes.
Application:
Applying panel wipe to a cloth is a common method for cleaning and preparing surfaces before painting:
Select the Right Cloth: Choose a clean, lint-free cloth. Microfiber or cotton cloths are often suitable for this purpose.
Shake the Panel Wipe Container: If the panel wipe is in a liquid form, shake the container well to ensure that the product is thoroughly mixed.
Pour or Spray Panel Wipe onto the Cloth: Pour a small amount of panel wipe onto the cloth. Alternatively, you can use a spray bottle to apply the panel wipe directly onto the cloth. Ensure that the cloth is damp but not overly saturated.
Application Process:
Fold or Unfold the Cloth: Fold the cloth to create a manageable size for your hand or unfold it if you need a larger surface area for cleaning. Wipe the Surface: Gently wipe the cloth over the surface you want to clean. Apply moderate pressure to remove contaminants such as wax, grease, or silicone. Work in manageable sections to ensure thorough coverage. Inspect for Residues: Inspect the surface for any residues or contaminants. If necessary, repeat the application and wiping process until the surface is clean and free of contaminants. Allow Evaporation: Allow the panel wipe to evaporate from the surface. This ensures that the surface is completely clean and ready for the next steps in the painting process. Dispose of Cloth Properly: If the cloth becomes heavily soiled with contaminants, dispose of it according to local regulations. Some panel wipe products may also recommend specific disposal procedures for used cloths. Wash Hands: After using panel wipe, wash your hands thoroughly to remove any residues from your skin.
Review this product
Wish List
LSS2604/5
Sorry, this item is currently out of stock.
We currently hold [remaining-stock] units of this item in stock. Would you like the remainder put on back order?
You cannot order more of this item than we currently hold in stock.
You must order at least [min-order-qty] of this product.
You must order at least [min-order-qty] of this product. We currently hold [remaining-stock] in stock. Would you like the remainder put on back order?
This site uses cookies. By continuing your visit, you accept their use as set out in our Cookie Policy.OK